- Published on
Compile & Upload Arduino Code from the Command Line
- Authors
- Name
- Tinker Assist

Purpose
This is the first of a multi-part blog to investigate how we can provide GPT models with embedded tools like compilers and hardware to provide some feedback to the embedded code they write.
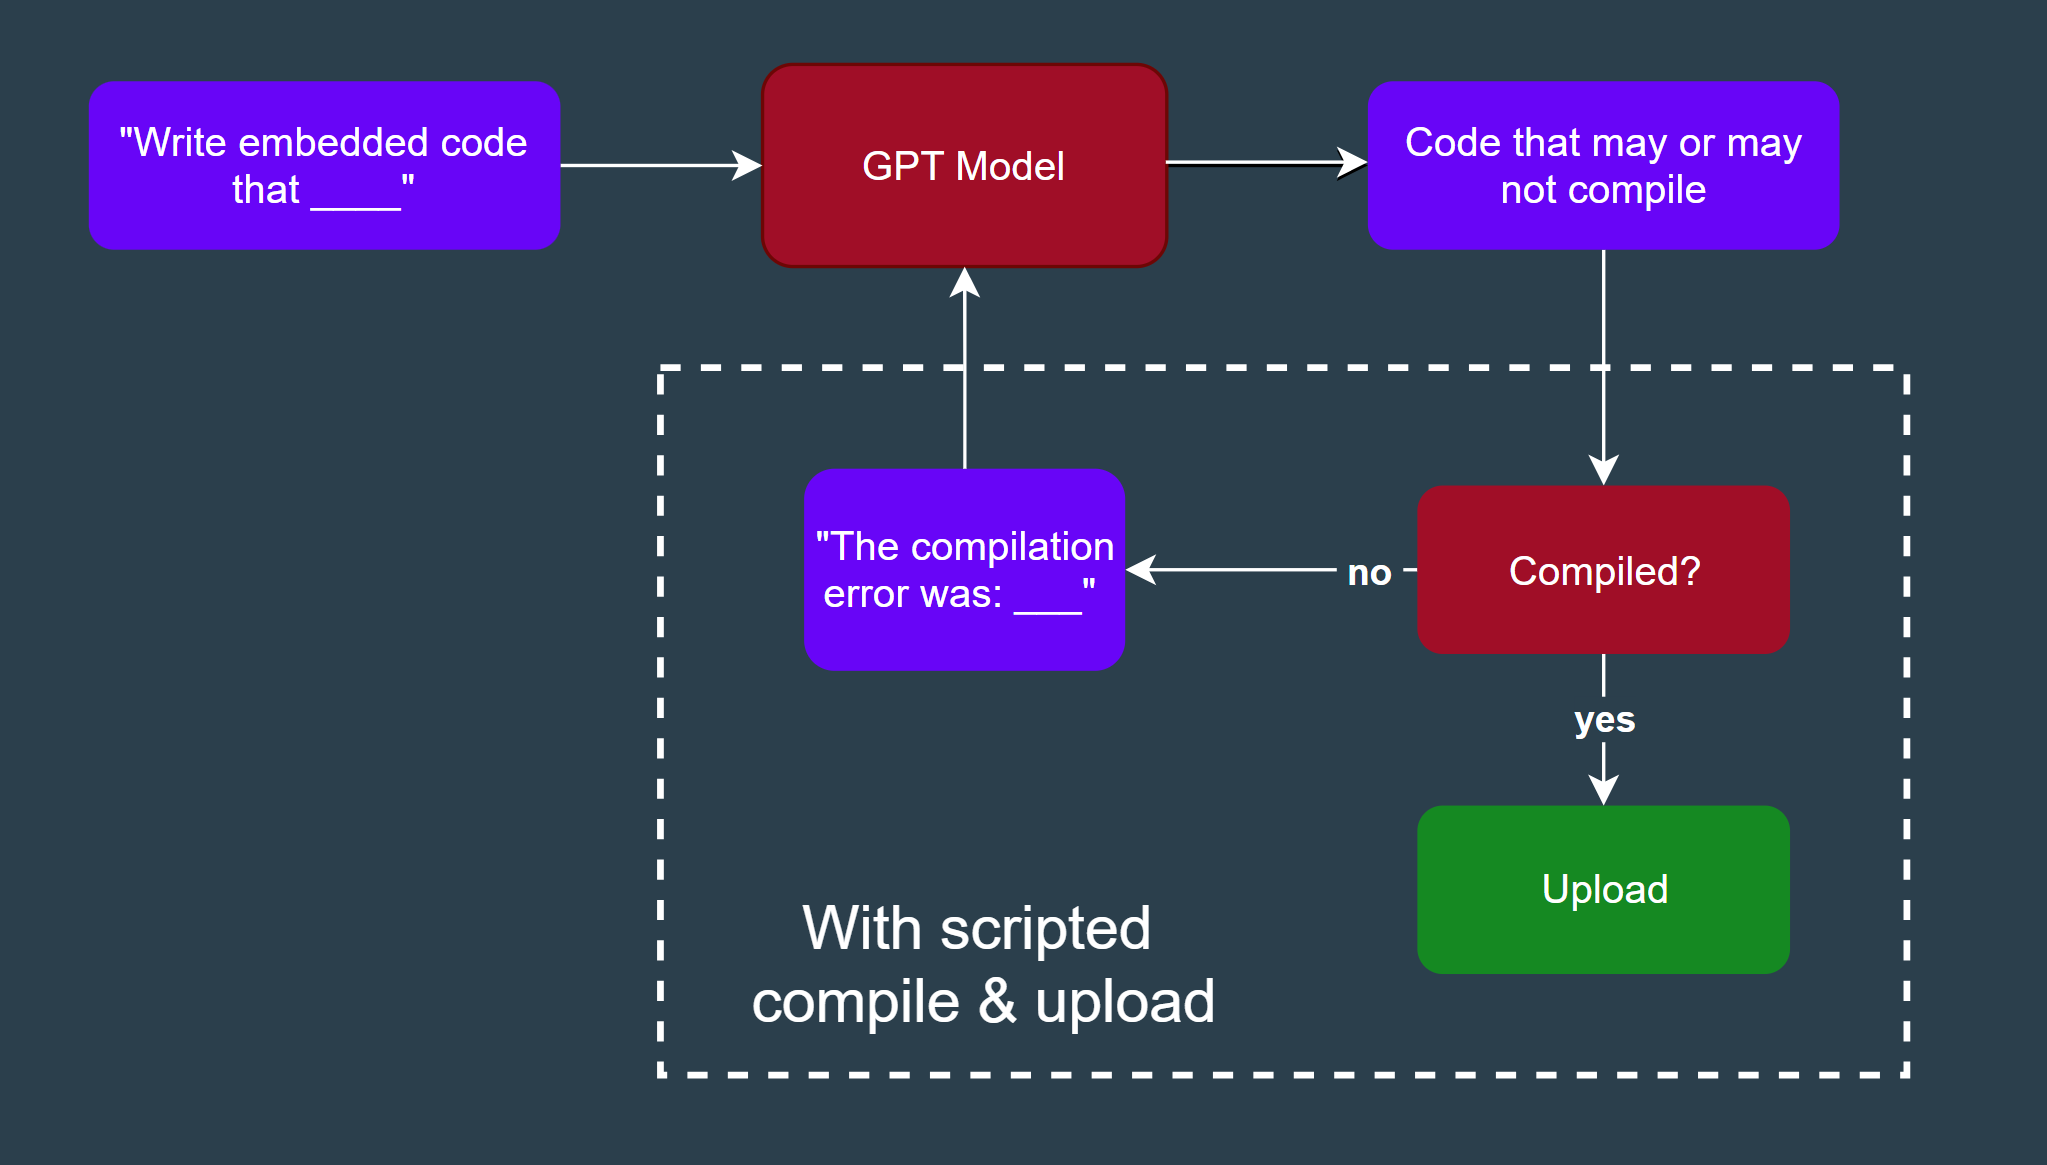
GPTs are fairly good at writing embedded code, but they often make silly errors, some that can even prevent the code from compiling. And when you are simply asking the model to write some code and then trying to compile and upload the output through an IDE, your workflow looks something like this:

On the other hand, adding a feedback loop to this process makes the workflow much more efficient. You can automatically prompt the GPT model on whether or not compile and upload were successful. You can even provide specific errors so the model knows where to iterate.

By the end of this multi-part blog, we'll discuss how to achieve this feedback workflow in Arduino programming!
Arduino-CLI
What is Arduino-CLI?
So what is arduino-cli? This is Arduino's command line interface. It provides all of the functionality of the Arduino IDE in a command line interface. This is the first step towards our goal of compiling and uploading Arduino code with a Python script.
Installing Arduino-CLI
To install, go to the Arduino CLI page on the Arduino GitHub, click "installation", and install the application for your platform.
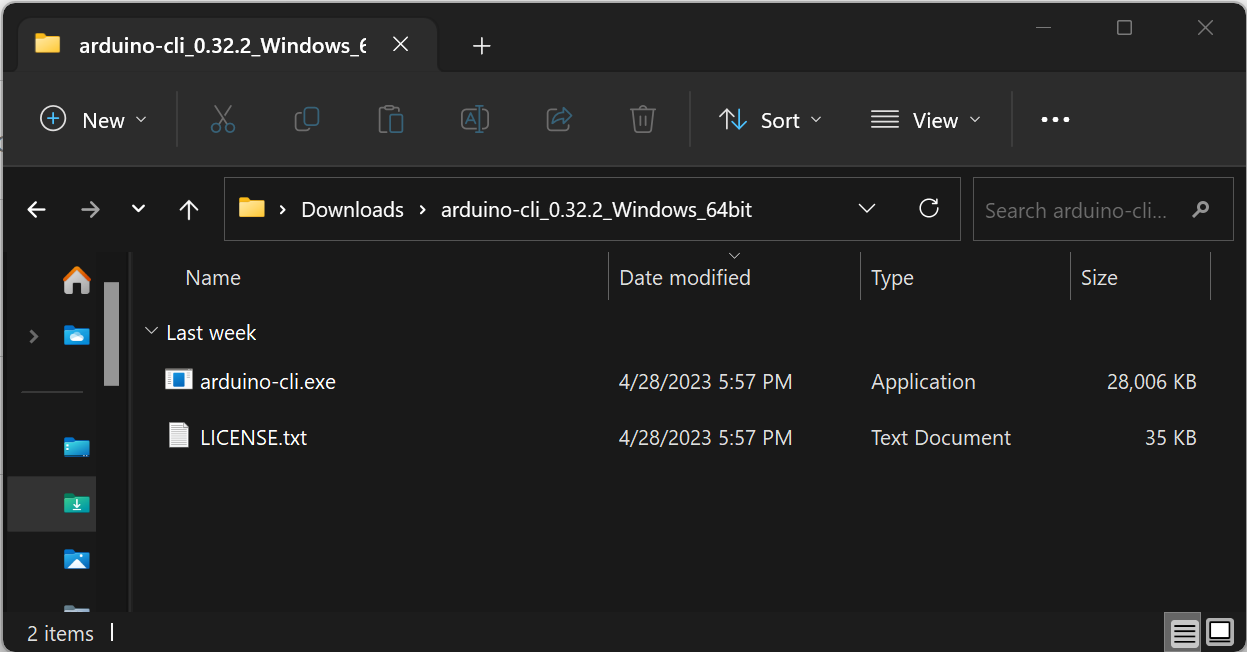
I installed the Windows 64 bit version and unzipped the folder into my downloads folder.

Use Arduino-CLI to Compile & Upload
Now, open this folder in your terminal and run arduino-cli to get a list of possible commands:
C:\Downloads\arduino-cli_0.32.2_Windows_64bit>arduino-cli
Arduino Command Line Interface (arduino-cli).

Usage:
  arduino-cli [command]

Examples:
  arduino-cli <command> [flags...]

Available Commands:
  board           Arduino board commands.
  burn-bootloader Upload the bootloader.
  ...
In a previous article, I had ChatGPT write me some Arduino code. Let's use the code from that project to test compile & upload, since we know it compiles in the Arduino IDE and we can tell if our code was uploaded based on our Arduino's onboard LED flash sequency.
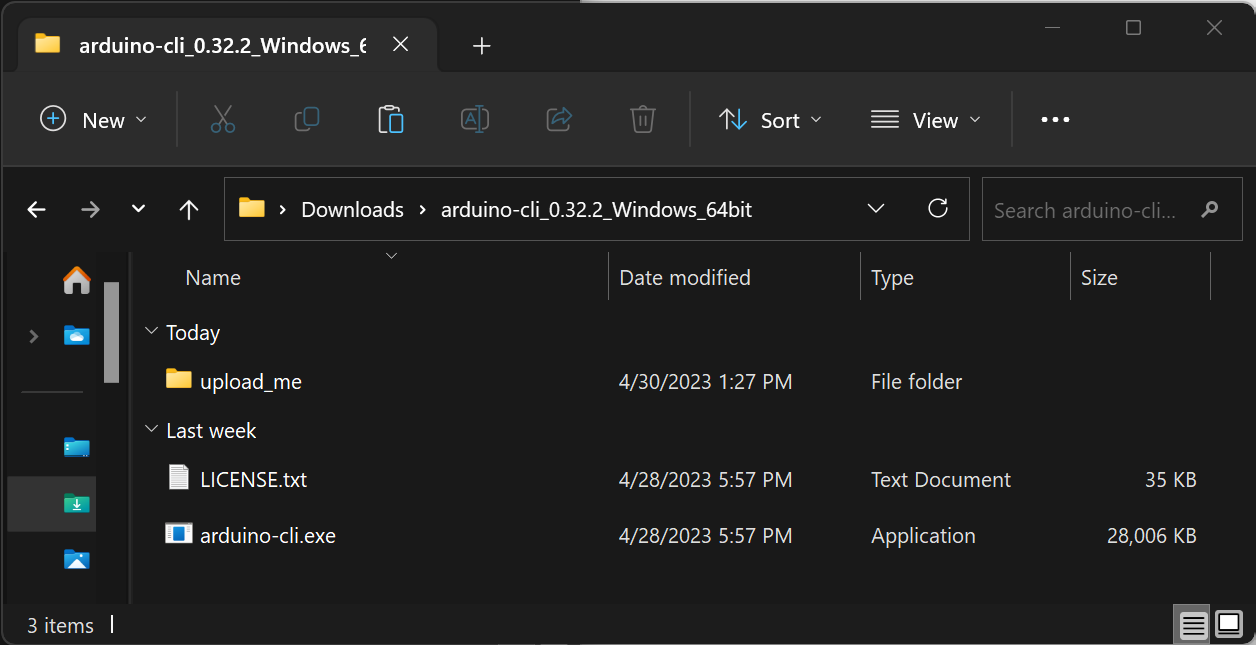
Within our directory, I am going to create a new folder "upload_me" with a file "upload_me.ino", and I am going to copy/paste that code in. Again, if you don't have that code visit the link above to copy/paste it over.
Now, our project directory should look something like this:

Now that we have an Arduino project to test with, let's try to compile and upload this to our Arduino using only arduino-cli.
I have an Arduino Mega plugged in to my PC, so let's see if we can find which port it's on. If I use the command arduino-cli board list, I get a list of connected devices:
C:\Downloads\arduino-cli_0.32.2_Windows_64bit>arduino-cli board list
Port Protocol Type              Board Name                FQBN             Core
COM3 serial   Serial Port (USB) Arduino Mega or Mega 2560 arduino:avr:mega arduino:avr
From the information provided, we'll need to remember our Port and FQBN for compile and upload.
Let's try to compile our code. For this step, we'll need to use the format
arduino-cli <project_path> -b <FQBN>
So, our command will look like this:
arduino-cli compile upload_me -b arduino:avr:mega
If we run this on the command line, it should compile successfully.
C:\Downloads\arduino-cli_0.32.2_Windows_64bit>arduino-cli compile upload_me -b arduino:avr:mega

Sketch uses 5638 bytes (2%) of program storage space. Maximum is 253952 bytes.
Global variables use 292 bytes (3%) of dynamic memory, leaving 7900 bytes for local variables. Maximum is 8192 bytes.
If you have used the Arduino IDE to compile and upload code in the past, this output should be familiar to you!
Now, let's go ahead and change something in our Arduino code to make sure we get a compile error. I think the safest way to do this is to remove a semicolon from the first line in our Arduino code.
After doing this, try to run the same command again. You should get an error like this:
C:\Downloads\arduino-cli_0.32.2_Windows_64bit>arduino-cli compile upload_me -b arduino:avr:mega

C:\projects\pyduinocli-test\upload_me\upload_me.ino:2:1: error: expected ',' or ';' before 'int'
 int dutyCycle = 50;  // Default duty cycle set to 50%
 ^~~
...
Nice! This feedback will be helpful to us later.
Let's go ahead and add our semicolon back, recompile, and upload our code!
We'll have to use the following format for upload:
arduino-cli upload <project_path> -b <FQBN> -p <COM_port>
If we actually run this, we don't get any feedback in the terminal. We can assume this means the upload was successful.
C:\Downloads\arduino-cli_0.32.2_Windows_64bit>arduino-cli compile upload_me -b arduino:avr:mega
Sketch uses 5638 bytes (2%) of program storage space. Maximum is 253952 bytes.
Global variables use 292 bytes (3%) of dynamic memory, leaving 7900 bytes for local variables. Maximum is 8192 bytes.

C:\Downloads\arduino-cli_0.32.2_Windows_64bit>arduino-cli upload upload_me -b arduino:avr:mega -p COM3

C:\Downloads\arduino-cli_0.32.2_Windows_64bit>
However, if we were to switch our FQBN to, for example, an Arduino Uno, we'll get an error.
C:\Downloads\arduino-cli_0.32.2_Windows_64bit>arduino-cli upload upload_me -b arduino:avr:uno -p COM3
avrdude: stk500_recv(): programmer is not responding
avrdude: stk500_getsync() attempt 1 of 10: not in sync: resp=0x71
avrdude: stk500_getsync() attempt 2 of 10: not in sync: resp=0x00
avrdude: stk500_getsync() attempt 3 of 10: not in sync: resp=0x00
avrdude: stk500_getsync() attempt 4 of 10: not in sync: resp=0x00
avrdude: stk500_getsync() attempt 5 of 10: not in sync: resp=0x00
avrdude: stk500_getsync() attempt 6 of 10: not in sync: resp=0x00
avrdude: stk500_getsync() attempt 7 of 10: not in sync: resp=0x00
avrdude: stk500_getsync() attempt 8 of 10: not in sync: resp=0x00
avrdude: stk500_getsync() attempt 9 of 10: not in sync: resp=0x00
avrdude: stk500_getsync() attempt 10 of 10: not in sync: resp=0x00
Failed uploading: uploading error: exit status 1
In the next blog, we will see how we can utilize this tool in Python!